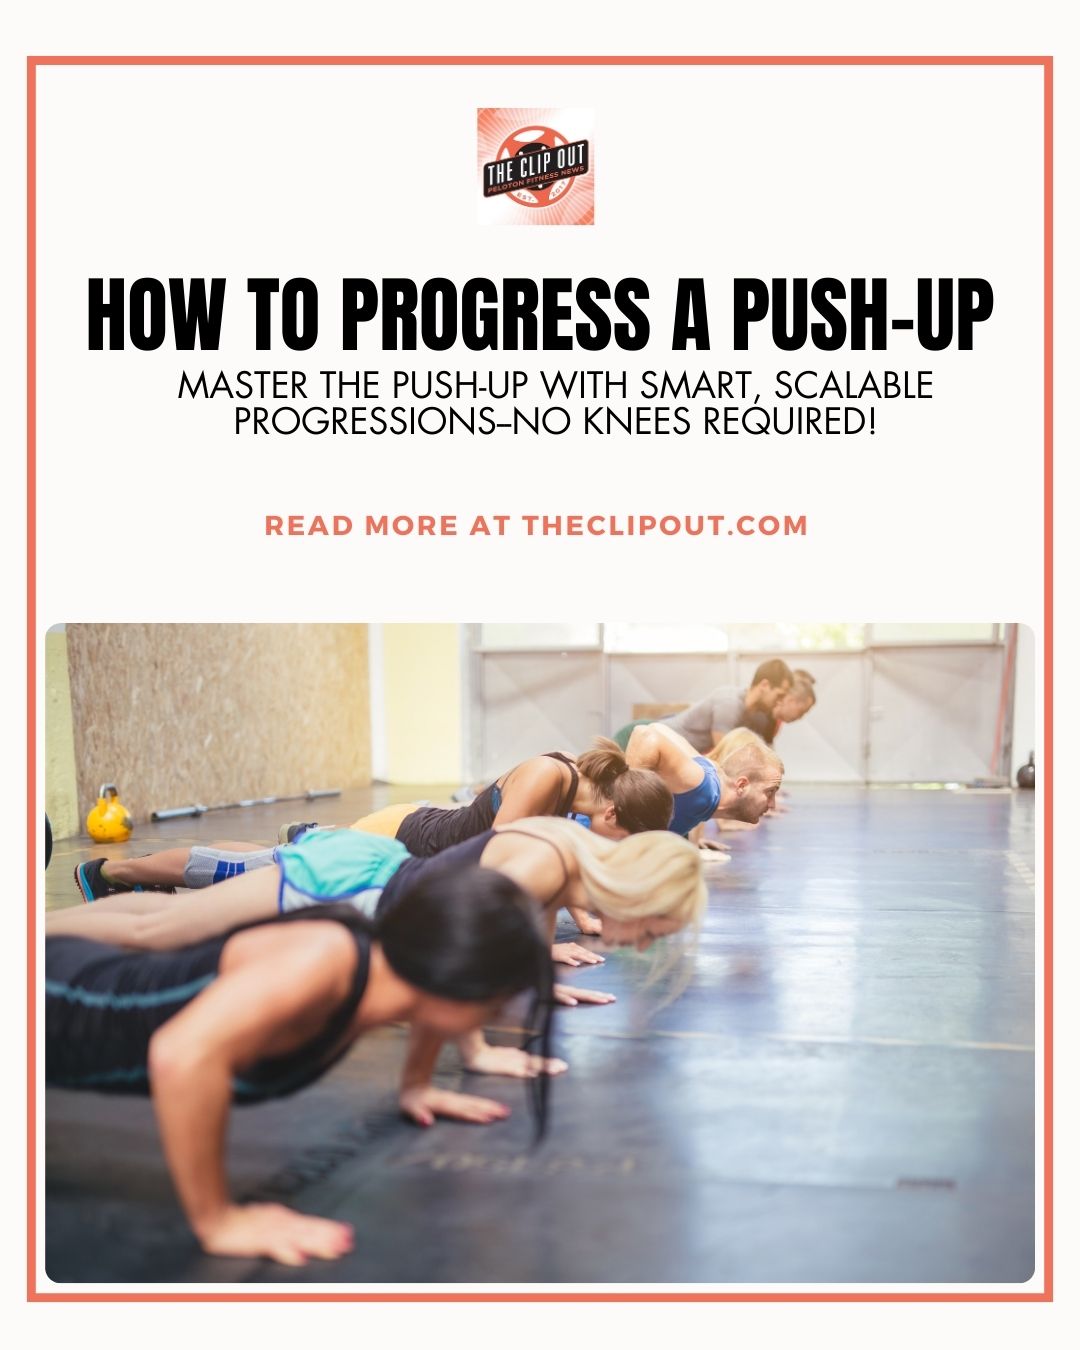
Push-Up Progression: Master Technique 1 Rep at a Time
Push-Ups Are Having a Moment
Whether it’s because of a viral podcast that stirred debate about women needing to hit 11 push-ups to be considered “fit,” or because they remain one of the most accessible and effective full-body strength exercises, push-ups are everywhere right now. Even Peloton is getting in on the action with its new 10-week “Build Up to Pushups” program led by Joslyn Thompson Rule—clearly push-ups and push-up progression is top of mind for a lot of people!
But how do you actually progress a push-up? Is dropping to your knees the best route? Or is there a smarter, more effective way to work up to a full standard push-up?
Let’s Talk Knee Push-Ups
First, let’s clear something up: there is absolutely nothing wrong with doing push-ups on your knees. They can be an excellent option for beginners, people recovering from injury, or those dealing with wrist or shoulder sensitivity. But if your ultimate goal is a standard push-up, the truth is: they may not be your best path forward.
That’s because the applied force during a knee push-up doesn’t sufficiently mimic the mechanics of a standard push-up. You’re not training your full body to stabilize and support your weight in the same way. In terms of meaningful push-up progression, you need to gradually increase your strength in the full push-up position—which is where incline training comes in.
Start Smart: Incline Push-Ups
To begin your push-up progression, start with incline push-ups. The higher the incline, the easier the move. This means all you need to get started is a wall.
- Stand facing a wall, feet shoulder-width apart.
- Place your hands on the wall at shoulder height, slightly wider than shoulder-width.
- Step your feet back until your arms are straight and your body forms a diagonal line.
- Bend your elbows to lower your chest toward the wall, then press back up.
Do 3 sets of 8-10 reps, focusing on proper form: a straight line from head to heels, engaged core, elbows bending at roughly 45 degrees, and hands properly positioned. This is your baseline.
Dial In Your Push-Up Form
When doing a push-up, whether it’s on the floor or you’re progressing on an incline, it’s crucial to master proper form. To do this, start in a high plank position with your hands slightly wider than shoulder-width apart and your feet hip-width apart. Your body should form a straight line from head to heels—no sagging hips or raised butts (your butt is not in a museum, so don’t put it on display!). As you lower, bend your elbows at about a 45-degree angle, keeping them tucked in toward your body rather than flaring out.
Lower your chest until it nearly touches the floor, then press back up by extending your arms, all while keeping your core engaged and your gaze on the floor below you (not looking back at your feet!). Maintain a steady breath pattern—inhale on the way down, exhale as you push up. Good form not only prevents injury but also ensures you’re building strength efficiently across your chest, shoulders, arms, and core.
Lower the Incline as You Gain Strength
Once you can do 3 solid sets at one incline, increase the challenge by lowering your incline. Move from wall push-ups to countertop height, then a sturdy bench, then a step, and eventually to the floor. If you have stairs at home, they work great for this.
This progressive overload is key to push-up progression. You’re gradually asking more of your body—and your muscles will respond by getting stronger.
If you fatigue mid-set when you’ve reached the floor, that’s okay! Just move back up to a higher incline to finish your reps. Alternatively, try looping a light-resistance booty band just above your elbows for a touch of support as you muscle through the final reps.
Tips for Push-Up Success
- Widen Your Base: Placing your feet slightly wider than your hips gives you more stability.
- Think Full-Body: Don’t forget to engage your core, quads, glutes, and even your lats. The more muscles you recruit, the stronger and more controlled your push-up will be.
- Mind-Muscle Connection: Focus on activating the right muscles during each phase of the push-up.
- Use Visualization: Picture a string lifting you from your spine to encourage proper alignment.
- Strength Train Elsewhere: Programs like Rebecca Kennedy’s 5-Day Split or Andy Speer’s Density Training can supplement your push-up progression by building overall upper-body and core strength.
But What About Those 11 Push-Ups?
A recent wave of buzz came from the claim that women aged 40-49 need to be able to do 11 push-ups to have “good” fitness, a stat reportedly taken from the American College of Sports Medicine (ACSM). While it’s helpful to have benchmarks, this specific number is arbitrary.
Strength is personal. If you can’t do 11 push-ups but you can deadlift twice your bodyweight, are you less strong? Absolutely not. And why stop at 11? Let your goals evolve as your strength does.
Push-Up Progression Is a Journey
Whether you’re doing 1 push-up or 50, you’re doing something incredible for your body. Push-ups are one of the most functional exercises out there, working your chest, shoulders, triceps, core, and more. By focusing on intentional push-up progression, you’ll not only get stronger—you’ll build confidence and unlock your next fitness level.
Let the incline be your best friend, trust the process, and take your time. There’s no rush—only progress.
Tune in to The Clip Out every Friday to hear Tom and Crystal’s take on this and other hot Pelotopics. We’re available on Apple Podcasts, Spotify, Google Podcasts, iHeart, TuneIn. Be sure and follow us so you never miss an episode. You can also find the show online on Facebook.com/TheClipOut. While you’re there, like the page and join the group. Lastly, find us on our YouTube channel, YouTube.com/TheClipOut, where you can watch all of our shows.
See something in the Peloton Universe that you think we should know? Visit theclipout.com and click on Submit a Tip!
Latest Podcast

Subscribe
Keep up with all the Peloton news!


